Easy Kitchen Faucet Replacement: A DIY Guide
Your kitchen is the gathering place for family as well as friends and the creation of delicious meals. The kitchen faucet is a critical fixture in this lively area, providing access to water for drinking, washing, and cooking. But unfortunately, even the toughest ones might break due to deterioration, requiring a kitchen faucet replacement. Don’t worry; we’ll teach you how to replace a kitchen faucet in this article, giving you the tools you need to revitalize your kitchen easily and confidently.
Recognizing the Signs of a Broken Faucet and Knowing When to Replace It
Knowing when to replace your kitchen faucet is essential before you start the replacement procedure. The following indicators pointed out by Rooter Man plumbing professionals signal the need to replace your outdated faucet:
Persistent Leaks: Worn-out seals or internal components may be the cause of a faucet that leaks continuously even after it is tightened.
Reduced Water Flow: If the water flow from your faucet has become noticeably less over time, it may indicate internal obstructions or mineral accumulation.
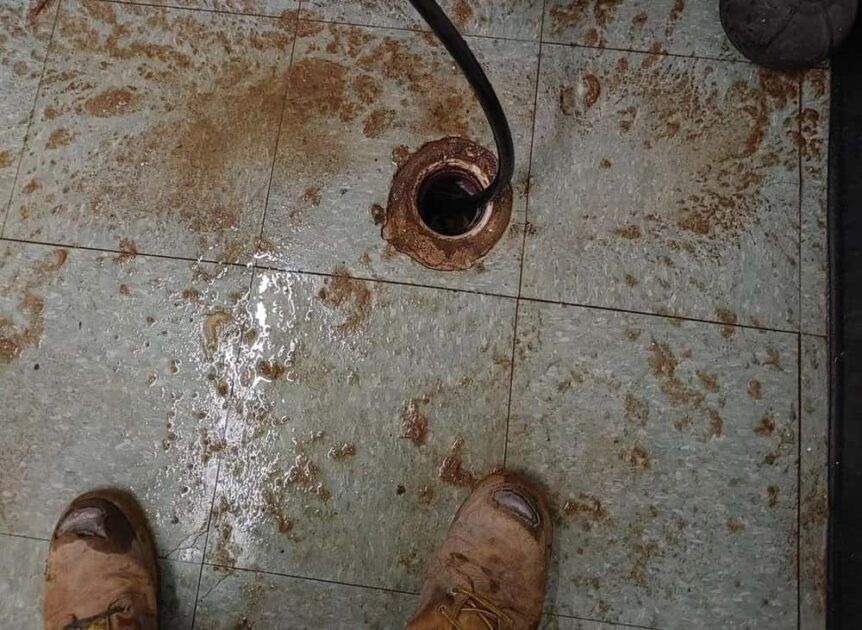
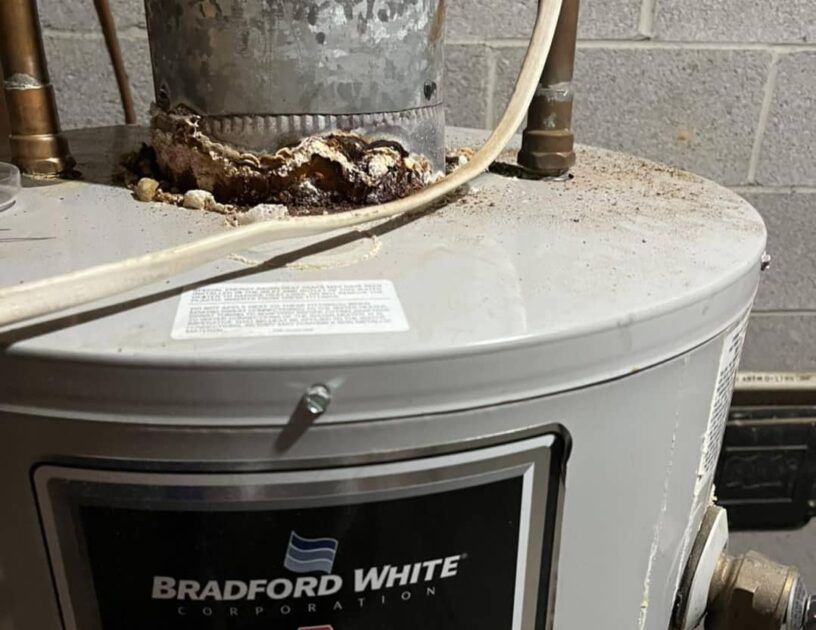
Corrosion and Rust: The presence of visible indications of corrosion or rust on the faucet’s exterior detracts from both its aesthetic appeal and its functioning.
Operational Difficulty: If turning or manipulating the faucet handles is difficult, there may be underlying mechanical problems.
Outdated Style or Design: Occasionally, updating the visual appeal of your kitchen alone calls for replacing your faucet.
Getting Ready: Compiling the Equipment and Supplies
It’s important to collect all the equipment and supplies needed before starting the kitchen faucet replacement process. Here is a detailed list to guarantee a seamless transition:
New Kitchen Faucet: Choose a replacement faucet that fits your practical needs and enhances the design of your kitchen.
Adjustable Wrench: An adjustable wrench is essential for tightening and loosening nuts and bolts during installation.
Basin Wrench: This unique instrument makes it easier to reach tight spaces under sinks and makes removing and installing bolts easier.
Plumber’s Putty or Caulk: To make a watertight seal around the faucet base, you may require a plumber’s putty or caulk , depending on the kind of material used for the sink.
Towels and a bucket: Set up a bucket and towels so you can wipe up any spills and keep your work area dry and clean.
Flashlight: To improve visibility while installing the sink, shine light on any shadowy regions below it.
Safety Equipment: Wear safety goggles to safeguard your eyes, particularly while working above or in confined places.
Step-by-Step Guide to Kitchen Faucet Replacement
With the required instruments and supplies at your disposal, let’s get started on the task of replacing your kitchen faucet. For a hassle-free installation procedure, adhere to the following detailed instructions:
Step 1: Set Up Your Desk
To provide plenty of room for movement, start by organizing the space under the sink. Use towels or a pail to collect any water that may spill while the sink is being removed. Seek assistance from a helper if at all feasible, particularly while handling heavy or bulky parts.
Step 2: Shut Off the Water Supply
Turn off the water supply valves under the sink before continuing. To stop the water from flowing to the faucet, turn the valves clockwise until they are completely closed. After turning off the water supply, open the faucet to let out any last bit of water pressure and totally empty the pipes.
Step 3: Cut Off the Current Faucet
Loosen the nuts and bolts holding the supply lines to the faucet with the help of an adjustable wrench. Detach the supply lines with caution, being sure to collect any leftover water in the bucket below. Next, undo the bolts holding the faucet to the countertop or sink. If required, reach difficult-to-reach places using a basin wrench. After loosening the bolts, remove the old faucet assembly from the sink and place it aside.
Step 4: Get Ready to Install the New Faucet
Read the instructions from the manufacturer carefully and get acquainted with the parts before installing the new faucet. If necessary, assemble the faucet following the directions given, making sure that every part is firmly secured. For a watertight seal when installed, use caulk or plumber’s putty on the base of the faucet.
Step 5: Install the New Faucet
Gently insert the replacement faucet assembly into the sink’s or countertop’s mounting holes. Place the matching washers and nuts on the faucet’s tailpieces from below the sink, then hand-tighten them into place. To safely tighten the nuts and prevent damage to the faucet or sink, use an adjustable wrench.
Step 6: Connect the Supply Lines
Make sure the supply lines are securely and tightly fastened to the appropriate hot and cold water valves by reconnecting them. To tighten the nuts, use an adjustable wrench; however, do not overtighten, as this might harm the fittings. After connecting the supply lines, make sure every connection is secure and free of leaks or drips.
Step 7: Check the Faucet
Once the installation is finished, rotate the water supply valves counterclockwise to turn them back on. To let water go through the freshly installed faucet, slowly open the faucet knobs. In order to stop any leaks, check for leaks around the base and connectors and tighten as needed. To make sure everything is working properly, test the hot and cold water functions. If necessary, adjust the handles.
Step 8: Tidying Up and Last-Minute Details
After making sure the new faucet is leak-free and operating as intended, clean up the area by getting rid of any materials, tools, and trash. Clean the sink and its surroundings to get rid of any caulk, plumber’s putty, or water residue. Appreciate your labor of love and delight in your kitchen faucet’s restored look and performance.
Conclusion: Elevate Your Culinary Haven with a New Kitchen Faucet
To sum up, replacing your kitchen faucet is an easy chore that may revitalize your culinary paradise. You will be able to handle the replacement procedure with accuracy and confidence if you adhere to our thorough guidance and prepare yourself with the required equipment and supplies. A new kitchen faucet has the ability to completely change your kitchen experience, regardless of whether you’re upgrading for aesthetic appeal or to solve practical issues. Seize the chance to improve your kitchen’s appearance as well as its functionality, and relish the endless culinary explorations that lie ahead.
For professional help replacing a kitchen faucet in Belleville , look no further than Rooter-Man. Our knowledgeable specialists can replace any kitchen faucet with simplicity and accuracy as they possess all the necessary tools. Rooter-Man is your go-to choice for a flawless replacement kitchen faucet experience, whether you’re updating for aesthetic reasons or addressing a broken fixture. Additionally, our skilled staff can assist with sink faucet replacement. You can rely on us to quickly and expertly install a new faucet, enhancing your kitchen’s functionality and design.
The post Easy Kitchen Faucet Replacement: A DIY Guide appeared first on Rooter-Man Plumbers.